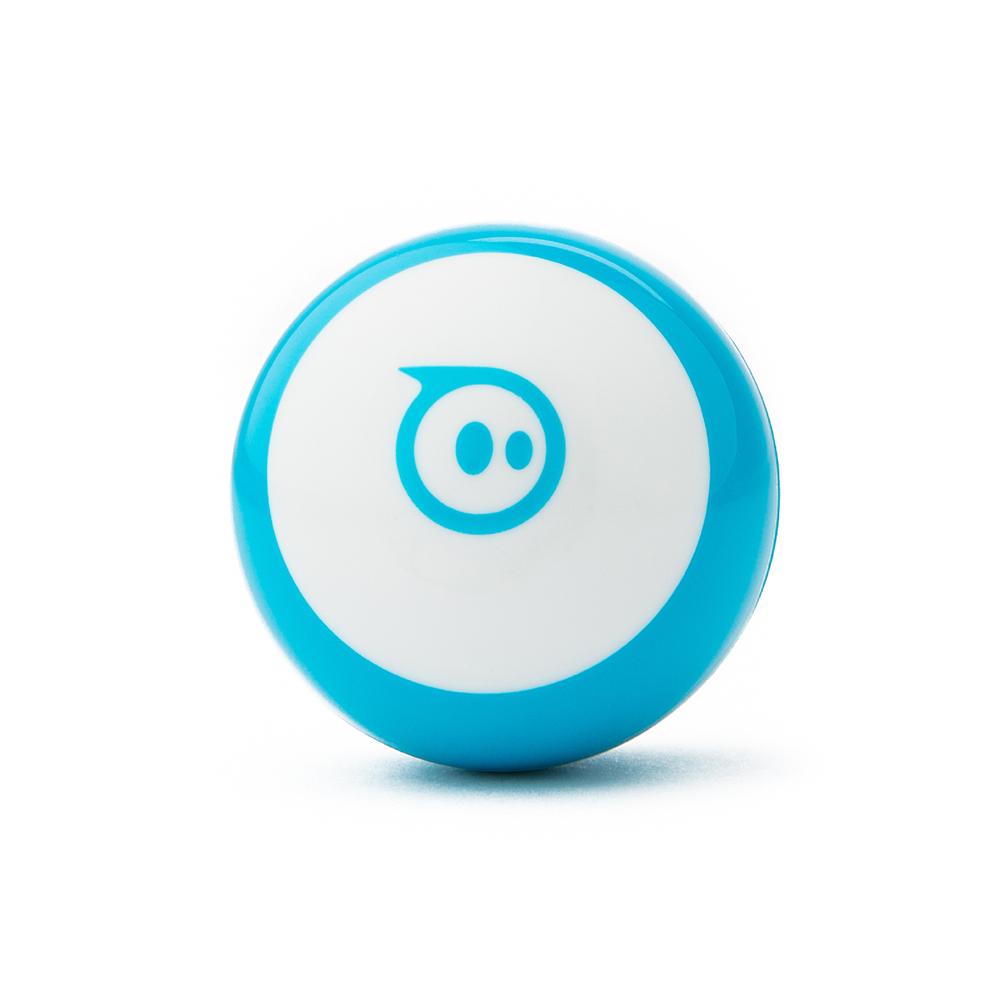
APPS & WEBSITES FOR COURSEWORK

Article based on your search

Table of Contents

Sphero Mini

The Sphero Mini is in limited use in a few CDS lower school classrooms. This great 4-minute tutorial shows set-up, charging and ways to use it!

A few key things to note:

  1. Battery Life: the Mini will work for 45-minutes with a full charge. (It needs a USB/mini-USB cable plugged into any charging block similar to what’s used for an iPad or mobile phone.
  2. Surfaces: the Mini performs best on a smooth surface; low carpet is best but any smooth surface in or outdoors is fine.
  3. Liquids: it won’t work if it gets wet!
  4. App: the “Sphero Play” app is used to control it and can be installed on an iPad/Android tablet or mobile phone.

3. Squeeze the mini shell to open it to access the charging port; the light will glow green when it’s fully charged. Remove cable and close round cover.

4. Open app and tap “Mini”

5. Follow the prompts when you turn it on. It will ask you to orient the Mini so it knows which way is forward. You can reset this anytime by tapping the green “steering wheel” dot on the screen.

6. To choose different functions or Blocks programming tap the blue steering wheel button.

7. The Mini comes with a small supply of traffic cones and bowling pins but you’re encouraged to set up an obstacle course using things from your home.

8. POWER OFF when you’re finished! Tap the blue “settings” button in the upper right then tap “Advanced” then “Power Off”.

9. Place on charging base to get ready for the next round.

Google

Student Google Credentials:

All CDS students now have Google log in credentials that can be used to sign into many platforms including Zoom.

If a student has trouble signing in with Google log in credentials watch this short 2 minute video that demonstrates how to do so on an iPad. To access student email, usernames and passwords families should go to the MyCDS section of the CDS website. Watch this 1-minute video to see how to get there.

Google apps used at CDS:

CDS students access different Google apps at each grade level: all students have access to the Google Calendar, Drive and Docs. Third and 4th graders also have access to Gmail, Google Slides, Jamboard, Sheets and Photos. Middle school students can access Google Classroom.

To remove a user’s Google account from a Google related app:

  1. open the Google Drive app
  2. tap onto user icon in upper right corner (this might be an initial or image specific to the user)
  3. in pop-up window tap “Manage accounts on this device”
  4. all previous user profiles will appear in the next pop-up window
  5. tap “Remove from this device” for any you want removed
  6. this removes the logins from all Google and Google-related apps.

Zoom

Zoom is used for synchronous learning at CDS. CDS students sign in using their Google username and password.

Zoom etiquette is set per Division and additionally per teacher in terms of cameras being on/off, use of chat, screen annotation and other Zoom features.

Students are expected to follow established protocols. Families, we appreciate you supporting and guiding your child as well!

UPDATE ZOOM

On CDS iPads:

  • Quit Zoom first (double-tap the HOME button and swipe up to close)
  • Open the SELF SERVICE app located in your Utilities folder
  • Scroll down and find Zoom.
  • Click INSTALL or REINSTALL to update Zoom
  • This may take a minute or so to install. When it says it is complete, quit Self Service and open the Zoom app!

On CDS Laptop:

  • First, quit Zoom.
  • Then open the SELF SERVICE app in your applications folder.In Self Service, you should see an option if you scroll down to INSTALL LATEST ZOOM. 
  • Click INSTALL or REINSTALL to install the newest version.  You can watch the process. It takes about a minute to update.
  • Once it says it is complete, open the Zoom app and it should be the newest version!

On Personal Devices:

Visit Zoom’s Support page for a video on how to update on your device: https://support.zoom.us/hc/en-us/articles/201362233-Upgrade-update-to-the-latest-version

Lexia

Lexia Core5 Reading is used by CDS Kindergarten, 1st and 2nd grade students.

Starting Out In Lexia:

  1. Open the Lexia Core5 app or go to lexiacore5.com//register when first logging in via a browser
  2. Students must log-in daily with full Google email and password*
  3. After first log-in students are prompted to enter their teacher’s email
  4. Students will be prompted to verify their name
  5. First time users are also asked to complete the Auto Placement. Note: Placement takes approx. 10-20-minutes to complete. It’s important that students have good audio quality (ideally, using headphones) or by working in a quiet area free of distractions
  6. Please note that for most students Lexia is designed to be used for no more than approximately 15-minutes each day. Students are logged out after 15-20 minutes of use.

* Families, find your child’s Google log-in credentials on the CDS website in the MyCDS section, by tapping on the Student Forms Online orange button. View this short video to see how!

More about the student experience of Lexia:

  1. Based on Auto Placement scores students are placed at or above grade in Levels 1-21. (Note: Students never know what “grade level” they’re at, only what “Level #” they’re at.)
  2. Lexia content is labeled and organized in the following descending order: 1. Levels, 2. Activities, 3. Units, and 4. Items
  3. As students begin a Level they choose from 1 of 2 warm-up videos that review concepts in their last Level
  4. As students begin a new Level they see a dashboard with four details: 1. Current Level; 2. Usage Goal (in minutes); 3. Minutes Worked thus far; and, 4. number of Units Completed.
  5. Inside each Level are six kinds of Activities represented by colored circles on screen: 1. phonological awareness; 2. phonics; 3. vocabulary; 4. comprehension; 5. structural analysis, and, 6. fluency. Students can choose to pursue these in any order but will have to complete all prior to advancing to the next Level
  6. As students complete Activities they earn skill badges and are shown brief “reward animations”
  7. Colored on-screen indicators show how students are progressing: blue is for Guided Practice step; yellow for Instruction Step; green for Standard Step.
  8. Key on-screen navigation buttons include: Repeat, Volume, Directions and Exit

For more information and support please view Lexia’s family support guide.

Flocabulary

Flocabulary offers music-inspired videos, quizzes, vocab cards and games, reading and response prompts, and a “lyrics lab” related to language arts, life skills, math, social science, science and vocabulary.

Free access is currently available until 6/30/2020. CDS aims to purchase a school-wide license for the 2020-21 school year with hopes that access with continue past 6/30; we will keep you updated.

To log-in, visit https://www.flocabulary.com/join-class/ and enter the shared class code provided by your teacher.

For questions and support visit: https://flocabulary.zendesk.com/hc/en-us

SoundTrap for Education

For use by Middle School Students

INSTALLATION:

On CDS iPads, if not already installed:
• Go to the SELF SERVICE app

• Click INSTALL/REINSTALL for the SOUNDTRAP app
You may need to click install a couple of times if it does not install the first time.

On personal/family devices and laptops,
go to one of the following links :


LOGIN TO SOUNDTRAP

ON iPAD:

  • Once you open the app on iPad, click LOG IN
  • Click CONTINUE WITH GOOGLE
    If you get the message “Soundtrap wants to use google.com to sign in”, click CONTINUE.
  • Select your CDS Google Account.
    You may need to enter your CDS Google password.
    If you do not know your password, please email the CDS Helpdesk or ask your parents/guardians to email Tech Dept.

ON COMPUTER/CHROMEBOOK:

  • In a web browser like Chrome: Go to https://www.soundtrap.com/edu/
  • Click LOGIN in the upper right corner
  • Click LOG IN WITH GOOGLE
  • Click your CDS account
    You may need to login with your CDS Gmail account with your email address and password.


VIDEO TUTORIALS

Here is the entire SoundTrap tutorials.
This video is a quick crash course on how to use SoundTrap.


TIPS & TRICKS

  • Do Not Use the Chat Feature in SoundTrap. Chat can be helpful in small projects but when your entire class and teachers are in 1 project and someone chats…basically you are spamming everyone!

TIPS FOR iPAD

  • Loading Time: If there are alot of tracks in the project you are opening, it may take longer to load. Projects with more than 10 tracks may take 3-5 minutes to load.
  • Contributors (people icon) and Loops (♫ icon) in your way? With your finger, slide it to the right to hide it; tap the contributors or loops logos to bring it back
  • Adding New Track?
    After you click ADD NEW TRACK, you have lots of options to choose from. Click the instrument type you want.
  • Mic not working?
    Go to SETTINGS app > PRIVACY > MICROPHONE and make sure SOUNDTRAP is toggled ON.
  • Need to change the instrument for that track?
    No problem! You can then change it to a different instrument at any time. Tap the name of the instrument (left side above the instrument). Tap the kind of instrument you want and tap the instrument and then it should close this window and change the instrument.

TERMS

WHAT IS THE “STUDIO”?
The “Studio” is what you can go in the SoundTrap app to edit or add content to a project.

CONTRIBUTORS
Contributors are who the project has been shared with. (Basically, your classmates and teachers.)

LOOPS (♫ icon)
Loops are sounds that repeat. Most songs have a constant beat or drum sound in the background.

DreamBox

DreamBox is a K-8 online math program that supplements core instruction in the classroom or at home and is proven to increase math growth. It works on tablets and computers, at no cost to CDS families.

Note about DreamBox app installation on tablets: 1) if working on a CDS iPad the app has been pre-installed remotely. If you don’t see it, follow these instructions to install; 2) if your child is working from a family-owned tablet, download “DreamBox Learning Math” from the App store.

To Access DreamBox on an iPad:

  1. Open the app
  2. Students choose “School” (not “Parent”)
  3. On the first use students are prompted to enter the school code: 5y4j/x7ck
  4. Then enter the correct Classroom Code:
  • Kc1 – Ms. Luisa: 36098
  • Kc2 – Mr. Tristan: 82609
  • Kc3 – Ms. Katie: 96000
  • Kc4 – Ms. Ami 79737
  • 1c1 – Mr. Michael, 62825
  • 1c2 – Ms. Anna, 97802
  • 1c3 – Ms. Reggie, 75639
  • 1c4 – Ms. Belinda, 75861
  • 2c1 – Ms. Kay, 48364
  • 2c2 – Ms. Jessica, 40035
  • 2c3 – Ms. Val, 43549

5. Once logged into their class they need to choose their name.

6. The first time they log-in they’ll need to choose one of the images provided to serve as their passcode in the future. Please help them make a note of this. (If it’s forgotten, email a teacher or – we can see the name of the icon in the system.)

To access DreamBox on a computer:

  1. Enter this link in the browser: https://play.dreambox.com/login/5y4j/x7ck
  2. Then follow steps 4-6 above.

Family Access:

You must create your own family DreamBox Account to review your student’s progress:

1. You need your child’s DreamBox school login information (listed above) the first time.

2. Have student login just as they would at school.

3. Click Setup Parent Access at the bottom of the page.

4. Follow the instructions provided to create a new login and password.

5. Read Terms of Use and Privacy Policy.

6. Click “Submit”.

Log into your home account after setup:

1. Go to https://play.dreambox.com
2. Enter your email address and password.
3. To see student progress, click the “Family Dashboard” button.

If you have any questions:

Visit the DreamBox support page for more info.

Contact DreamBox Support at 877-451-7845 (weekdays 5 a.m. to 5 p.m., Pacific Time) or email .

NOTE: The DreamBox Support team is unable to provide your child’s login information and password for security reasons. Please reach out to your child’s teacher directly for their DreamBox login information.

Wet Dry Try

The Wet Dry Try app allows students to practice letters and number writing. It is available via a school-license, or free or paid (at-home) versions. CDS students can be assigned a log-in ID, offering access to the app on any device.

Home access set-up:

  1. Download the FREE Wet Dry Try app onto tablet
  2. Open the app
  3. Tap the center of the screen (on top of the chalk board)
  4. Enter this email:
  5. Tap on student name on right side
  6. Enter two-digit secret code by tapping the correct combination of  A, B, C, 1, 2 or 3. These will populate the two empty squares at the bottom of the screen
  7. Student will automatically be logged in and has access to Capitals, Numbers or Lowercase.
  8. Wet-Dry-Try recommends first practicing with just fingers but also has suggestions for using a hand-held stylus at some point. Visit https://wetdrytry.com/ for more details and support.

Note 1: The free Wet-Dry-Try app can be downloaded and used on any tablet but without an assigned student ID but not all functions are available.

Note 2: The paid Wet-Dry-Try app (currently $4.99 in the Apple app store) does offer full functionality. The

Flipgrid

Flipgrid is a creative platform that invites students to create and share videos on topics or challenges created by educators. Each grid includes separate “topics” where students post, view and respond to other CDS student videos. Student access to different grids requires different log-ins.

TIPS TO ALL FAMILIES & STUDENTS: 

  • Separate log-in details for ECP, Lower School and Middle School students are below
  • ECP and Lower School students use links to Flipgrids, then log-in with a Flip Code or QR Codeboth are provided by teachers
  • Middle School students use school email
  • Your first log-in takes a few extra steps; future visits will be faster
  • Flip video duration is set by teacher: they can be from :10 seconds to 10-minutes
  • Videos are approved by the teacher(s) after submitted
  • All students see approved videos in their division only
  • Flipgrid Help Center: https://help.flipgrid.com/hc/en-us

ECP & LS STUDENT INSTRUCTIONS

Student access via app on tablet or phone:

  • open App (see instructions below if using a CDS iPad)
  • tap Student
  • tap allow Microphone (then tap OK)
  • tap Allow Camera (then tap OK)
  • enter Flip Code (digits following flipgrid.com) or scan QR Code 
  • enter Student ID; 2-3 digits representing first letter of first and last names (if your child has a hyphenated first or last name, include both first letters)
  • You’re now logged in and ready to start! (See How To Use tips below)

Student Web browser access from any device:

  • ECP & LS families log in using flipgrid link shared by teacher
  • enter 2-3 digit Student ID (first initial of first & last names; if your child has a two part first or last name, use both first letters) OR QR Code Scanner button and scan QR Code from a screen or printed page
  • you‘re now logged in and ready to start (see How To Use tips below)

MIDDLE SCHOOL INSTRUCTIONS:

App on a Tablet or Phone:

  • open Flipgrid App (see instructions below if using a CDS iPad)
  • tap Student 
  • enter Flip Code
  • enter your CDS email (One Login pop-up may require you to enter your username and password the first time; click “remember me”)
  • you’re logged in and ready to start (see How To Use tips below)

Web browser on any device:

  • log into https://flipgrid.com/cdsbingoms
  • enter your CDS email (One Login pop-up may require you to enter your username and password the first time) 
  • you’re logged in and ready to start! How To Use tips below)

TIPS FOR ALL STUDENTS:

  1. after logging in…
  2. tap horizontal bar in center of screen to see available CDS “grids”
  3. tap green circle/white to begin making a video
  4. camera will open: choose selfie or rear camera
  5. icons across the bottom of screen from left to right:
  • filters: change hue (color) or add
  • tool: type as many words/messages over your video as you want in different styles them around the frame
  • emojis: choose from 1000smove, resize, pivot, etc.
  • tool: draw, write, change colors!
  • blackboard: turn background black or white 
  • Add Photos from your device
  • option 1: Add video clip (from device), includes an edit option to shorten clip
  • … option 2: record without audio

6. x” in upper left allows you to “leave recorder” or “restart recording”

7. timer icon in upper right tells you how many seconds remaining of 45-seconds allowed

8. small “folded page icon  in upper right open a ‘notes’ (a script or comments you need to read); these won’t be seen in final video

9. small “book” icon in for instructions about the video

10. tap green arrow

11. Tap small cloud icon in download video to your device when finished

12. take a selfie (or photo of anything) & add anything you like

13. tap Green Arrow to send video to Grid moderator (staff who administers the Grid)

14. use your actual name in the Your Name field (if not, the video won’t be approved)

15. add a Title (optional)

16. tap Submit Video

17. after video is submitted you can: share it via airdrop or with Seesaw; download it to your device

Canva

Canva is a fast, easy way to create posters, postcards, infographics, or anything visual you can imagine! You can start with a template or start from scratch, and Canva is available via an app and web browsers!

INSTALLATION:

On CDS iPads, if not already installed or need to reinstall:
• Go to the SELF SERVICE app

• Click INSTALL/REINSTALL for the Canva app
You may need to click install a couple of times if it does not install the first time.

On personal/family devices and laptops, go to one of the following links:


Privacy Policy: https://about.canva.com/privacy-policy/